Hello.
TI will explain how Firmware SW is developed using TC275 one by one.
This article is one of the articles that serialize the overall contents of development.
So, if you look at the previous article, I think it will be more helpful.
I will link the article below. Read it if you need to.
(Of course, there is no big problem if you just read this article.)
https://embeddedchallenge.tistory.com/529
01. What is embedded SW and what is MCU (Micro Control Unit)?
Today I will have some time to find out what is Embedded SW and what is MCU. And let’s talk about whether embedded SW really has a vision. 1. What is Embedded SW? In order to understand embedded SW, it is necessary to first understand the etymology of Em
embeddedchallenge.tistory.com
https://embeddedchallenge.tistory.com/530
02. How to purchase an embedded development board (TC275, Infineon)
Hello. Now, we are going to organize how to purchase MCU development equipment. From now on, I am going to purchase an Infineon MCU and perform embedded SW development. The link below explains the embedded SW. It might be worth taking a look at. https://em
embeddedchallenge.tistory.com
https://embeddedchallenge.tistory.com/531
02. How to purchase an embedded development board (TC275, Infineon)
Hello. Now, we are going to organize how to purchase MCU development equipment. From now on, I am going to purchase an Infineon MCU and perform embedded SW development. The link below explains the embedded SW. It might be worth taking a look at. https://em
embeddedchallenge.tistory.com
First of all, please launch Aulix Development Studio.

Then, let’s create a project.

Select File -> New -> New AURIX Proejct.

And write the name TC275_Project1 and click Next.

Then make your selections as above and click Finish.
The project is now created.
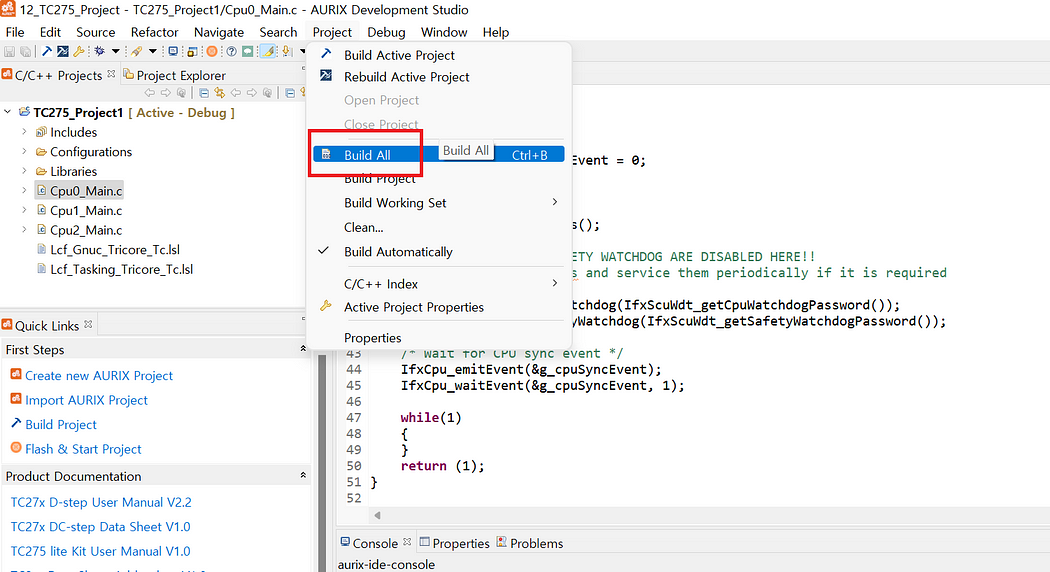
Now, click Build All, and let’s try a build.

Build is now finished.

Then, let’s download it to the purchased board.

Please click on the worm above.

Everything is set.
Please click Debug.

If you set the break point above and execute it, it will stop as above.
We are finally ready to start developing.
Now let’s blink the LED.


댓글